Lochinvar and I love Halloween. (OK, maybe I LOVE Halloween and Lochinvar is kind enough to humor my obsession.) Either way, we always have something going on for fright night. In the past we have teamed up with friends to host murder mystery parties or participate in costume contests with outfits based on colors, characters, and general tomfoolery. This year we are hosting a Festival of Imagination complete with a two-sentence scary story contest, a howling contest, and a costume contest; and I’m going as … you guessed it … a coloring book.
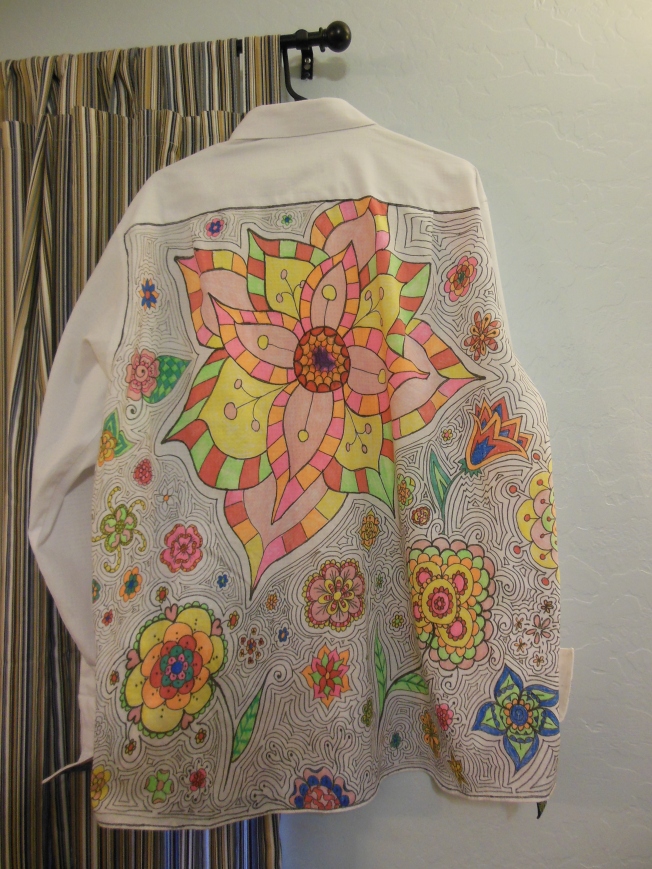
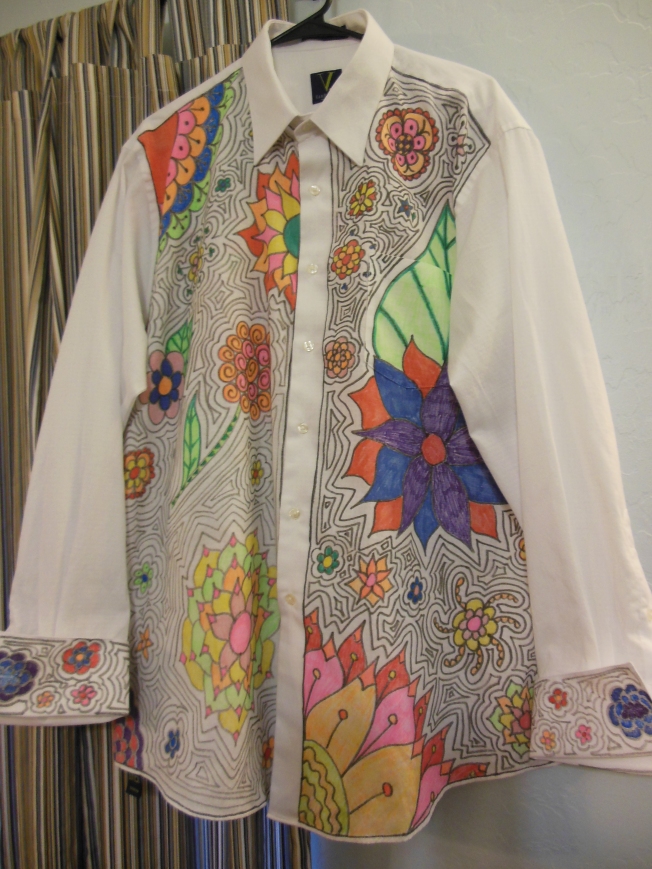
I found a pair of hot pink Crayola socks and a crayon-top hair ornament at the Halloween store. Then, I bought a plain white men’s dress shirt at Goodwill (It even has oo-la-la French cuffs!) for about four dollars. The rest was just a matter of drawing and coloring. While this was not difficult, it did take some time since I covered the entire body of the shirt and colored parts of it. Since coloring books are black and white, I’ll be pairing the shirt with a black skirt or black shorts (to show off the socks, of course) and plain black shoes. I’m also contemplating some temporary hair dye to match my pink crayon accessories.
If you want to be a coloring page, too, but don’t want to draw everything from scratch, I suggest blowing up a piece of clip art that you like and tracing it on to the shirt. You could scatter some larger elements, and then fill in spaces with smaller complementary items. If you don’t want to take the time to color the shirt, walk around with a few markers and have others color in pieces while you’re wearing it. You could also repeat the process on a pair of tights, plain white socks, or tennis shoes. This could also be a good activity for the kids if you prep the drawing on the shirt but let them color it.

I used Tulip fabric markers for this project. (Just as an aside, several years ago I colored a pair of plain tennis shoes using Sharpies. The markers bled pretty badly, muddling the colors and my lines. It could have been the canvas rather than the markers, but I didn’t want to risk a repeat of that project, so I went with fabric markers instead.) I already had these in my stash of goodies, but they are readily available at discount and craft stores. Both kinds worked well, but I really liked the double-tip markers better. The fat end made a nice line for drawing the designs and coloring large areas, while the fine end worked well on smaller areas (like the cuffs). In addition, when the fatter tip started getting “dull” on the black marker, I simply snipped a little off to recreate a sharper tip.
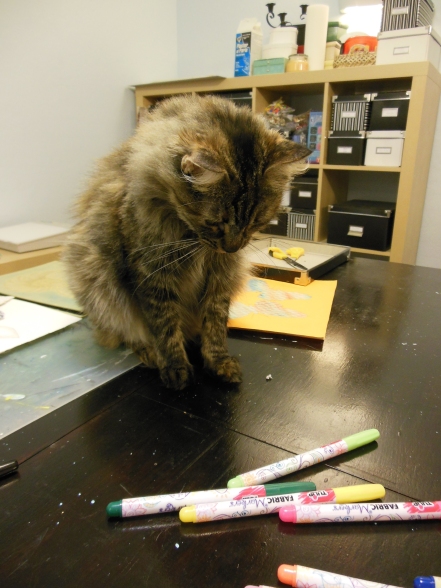 I did find that the darker colors (especially dark blue and purple) wanted to spread a little if used next to an already wet area. I combated this by coloring the darkest shades first and letting them dry for about 10 minutes before coloring lighter areas adjacent to the dark. In addition, I allowed the darker green to bleed when coloring leaves by using it around the edges before quickly coloring in the lighter shade and picking up some of the darker color. Just like in a regular coloring book, play with the blending. At first I used the colors as they were, but then I began mixing pinks and oranges to get nifty shades. Remember, the point is to have fun. (My feline companion Stanzilicious certainly had a blast helping me pick out the correct colors!)
If you don’t use a seasonal theme, you could wear your art work all year (which is what I had in mind). Now, though, I’m thinking about creating shirts with holiday themes like Halloween, Christmas, or New Year’s. A birthday shirt could be a fun way to let everyone know it’s your special day. Just think of all the embellishments! Happy Halloween and happy coloring!
